I think every home baker has at some point searched for the perfect banana bread. We all have our preferences: some like it very dense and banana-y, others like it almost like a cake with chocolate chips. I like it moist, not to sweet, full of taste of bananas with some soft banana pieces hidden in the bread. Well, I think I found my perfect banana bread. The sourdough here balances out the sweetness of the bananas while giving it a moist, light texture. It's also a great way to use the extra sourdough starter.
The
original recipe was posted on the Fresh Loaf, but reviews and first attempt confirmed that it needed more bananas - the original recipe was a bit crumbly and in my opinion, need a more banana taste. I added one more banana, replaced the shortening with butter (will try with oil next time), and some other minor adjustments, and here was the version that I ended up with:
1/3 cup butter
1 cup of sugar (1/2 cup of honey or some combination thereof can be used - I used 3/4 cup sugar + 3 TB honey)
1 egg
2 cups all-purpose flour
1 tsp baking powder
1/2 tsp baking soda
1/2 tsp salt
1.5 cup mashed overripe banana (about 3 large; I like to roughly mash with some chunks of banana left)
1 cup sourdough starter
3/4 cup chopped walnuts or pecans
1 tsp vanilla or 1 tsp grated orange rind
Preheat oven to 350F.
Cream together the oil and sugar, add egg, and mix until blended. Stir in bananas and sourdough starter. Add orange rind or vanilla. Sift flour, measure again with salt, baking powder, and soda. Add flour mixture and walnuts or pecans to the first mixture, stirring just until blended. Pour into greased 9x5" loaf pan. Bake for 1 hour or until toothpick comes out clean. Cool before slicing.
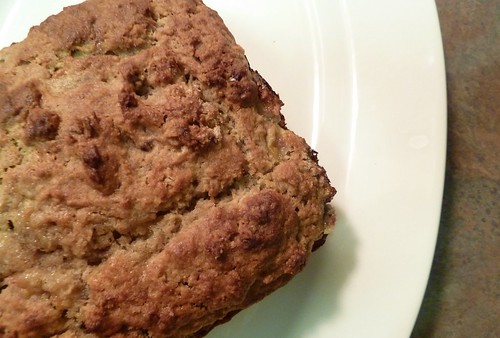
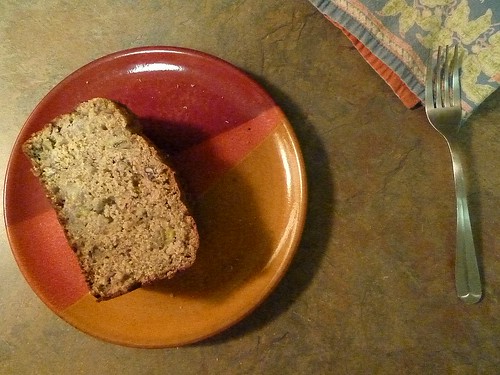
As you can see based on the photos, I did not follow my own directions and wait for the bread to cool before slicing! I'm sure next time I'll make double batches and wait for one loaf to cool down before slicing so the slices would look better, but the bread smelled too good for me to wait around in front of it. Hence the crumbly - but delicious appearance. Also, I got to say I am a big fan of pecans - pecans all the way in banana bread.
With the starter successfully made, now it's time for my first rye bread. I chose to make the Alpine baguettes from Local Breads as a first recipe because while the bread uses a rye starter, the bread itself is made using wheat flour, making the dough easier to handle.
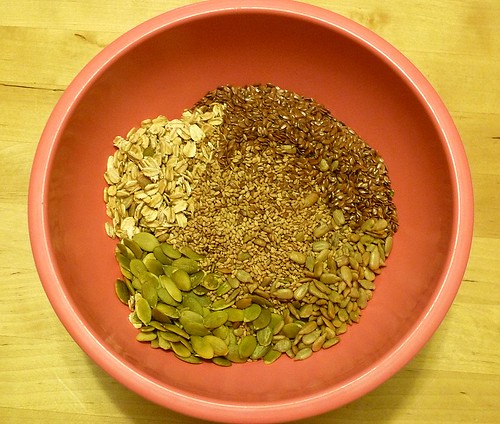
First, soak the grain and seeds the night before making the bread. This recipes calls for oats, pumpkin seeds, sunflower seeds, flax seeds, and sesame seeds.
Next time, mix together the seeds and the flour mixture. This is when dough whisk comes in handy (thanks Joedy!).
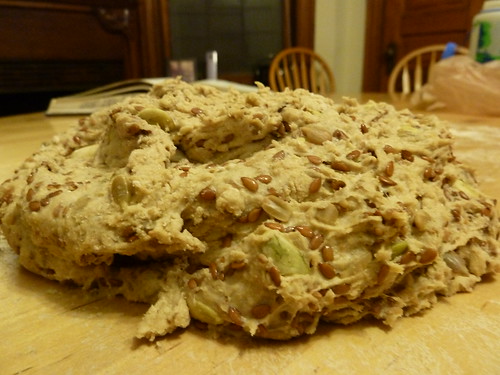
As you can see, the dough is quite sticky.
Unfortunately I got distracted while measuring flour and forgot how much I added, so I tried to play by ear. I had to add A LOT of flour to prevent the dough from gluing onto my hands. My guess was that I miscounted by 1 cup. Even after adding +1 cup of flour, this is still a fairly sticky dough to work with. Finally, I realized that the trick is to use a pair of very well-oiled hands to knead the dough.
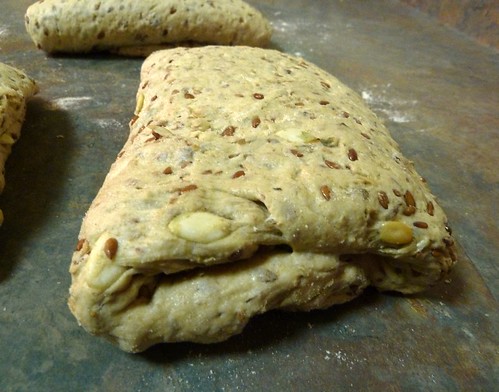
After the first rising, the dough divided into 3 pieces and each piece fold into thirds:
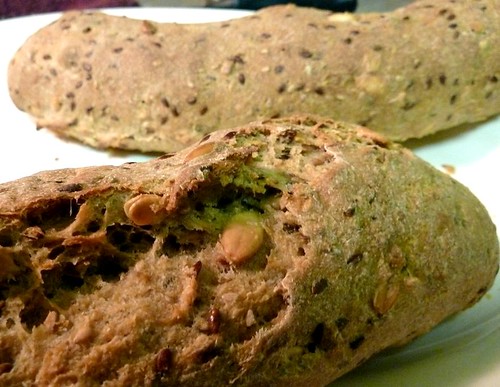
The dough is then rested for about an hour until it it puff up, and shaped into baguette form. It then goes into the oven for about 25 minutes. I didn't have parchment paper, so the baguette dough got somewhat misshaped when I lifted it from the counter to the baking stone.
Whole wheat grains taste better after it's been cooled down. However, I couldn't wait that long as I was hungry. When cut immediately after coming out of the oven, the inside look almost gummy:
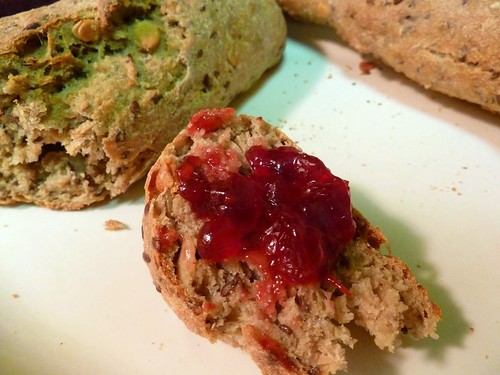
It taste really good with lingonberry preserve:
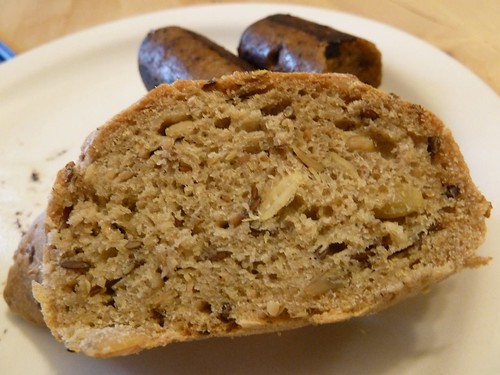
As you can see, the appearance improved next day. It looks much more bread-like.
(Those are Italian veggie sausage in the background. I have to admit they are actually pretty good and the spiciness goes well with rye breads).
For a first attempt, I was happy with the way this bread turned out. It was the first time in years I had bread that somewhat resembled the bread I ate in Germany. The aroma of the bread is slightly tangy without being sour at all. The pumpkin seeds give it a nutty, earthen scent. The rye starter gave it a unique flavor that taste worlds apart from the rye one get at the supermarkets here. Despite forgetting how many cups of flours I put in and trying to eye it from there, the bread took a life of its own and was well-received by the people I shoved it to. So if people tell you that rye sourdough or German breads are hard to make, or if things don't look perfect, don't fret, just go make it. It may actually turn out fine!
I apologize for the 2 week hiatus. I got involved in something that took my time away and consumed my attention - making a rye starter!
Let me first backtrack on how this started. Those of you who know me knows (and are probably tired of hearing about) how I fell in love with bread when I was in Germany. Before then, bread was fine, I liked eating sweet breads for snacks, but I thought it was a poor substitute for rice or pasta/noodle during meals. I used to know an Austrian hiker, who sniffed his nose up at American bread. I thought it was just a general European disdain for American mass-produced foods. As it turned out, he had a very good point when it comes to bread.
After I got into a baking frenzy last week, I decided to go check out the public library for bread books. I decided that I wanted to learn to bake multi-grain breads, which for me has a much more interesting texture than white breads. Skimming through the shelves, I saw a book that has been mentioned by several posters at The Fresh Loaf, Local Breads by Daniel Leader. I flipped through the pages, saw tons of Italian breads and French baguettes - white breads, and was about to put the book down, when I saw that the book had a section on German rye breads. I was sold.
Funnily, when I first started baking I was just going to learn basic sandwich bread, and at some point during decision making, I concluded that there was no reason spending time baking what I didn't enjoy eating, so decided to go for whole wheat despite the trickier dough handling. And with Leader's book triggering memory of those fond days at the German bakery, I decided to take the plunge and make rye sourdough. Not the steps most beginners would take, but I have accepted that I am a hopeless foodie.
The making of the starter was pretty easy: just some rye flour (which was actually quite some work to obtain), and water. That's it.
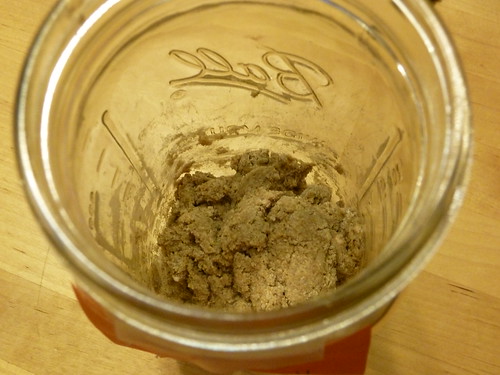
Day 1: mix 1/2 cup of rye flour + 1/4 cup of room temp (75F) water. At this point the thing look like clay.

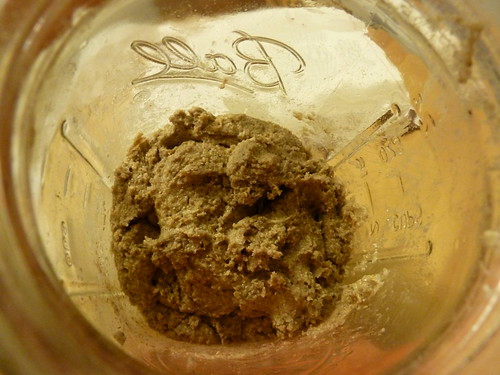
Day 2: add 1/2 cup of rye flour + 1/4 cup room temp. water. The starter is stiff but has slightly more doughy feel to it.
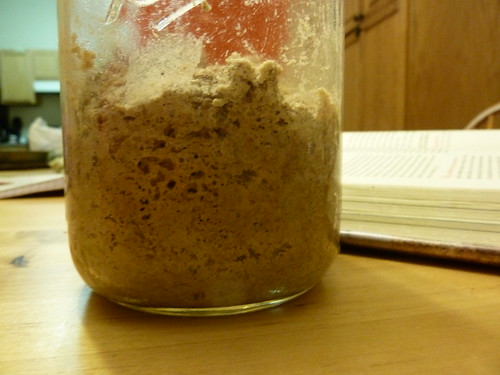
From the side you can see the bubbles indicative of fermentation:
Day 3: Add 1/2 cup of rye flour + 1/4 cup warm (90F) water. This is where I messed up - I added room temperature water as I didn't read the instructions carefully - but I didn't realize this until 2 days later. You can see that the starter becoming more doughy, and there are now bubbles as sign of fermentation. Starter is beginning to start to smell like - per Dan Leader - "rotten fall leaves and fermented apples."
Day 4: To test whether the starter is ready, I added 1/2 cup of rye flour + 1/2 cup of warm water and see if it doubles in size in 12 hours. It did not. *Belatedly realize my mistake on day 3*
Day 5: Starter still not doubled. I am thinking I've killed the starter. My roommate Jamie suggests that I move the starter to a warmer area since our apartment seems to be underheated. I moved it near the radiator.
Day 6. Success!! Starter have doubled with lots of bubbles when viewed from the side. It smells just right too. I scooped out ~1/4 cup of the starter, fed it 1/2 cup of rye flour + 1/2 cup of warm water, and set it near the radiator, in preparation for my very first rye bread making.
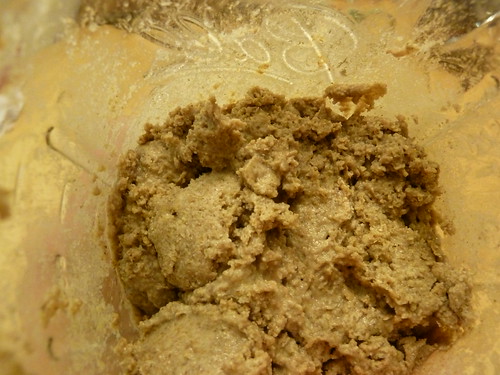
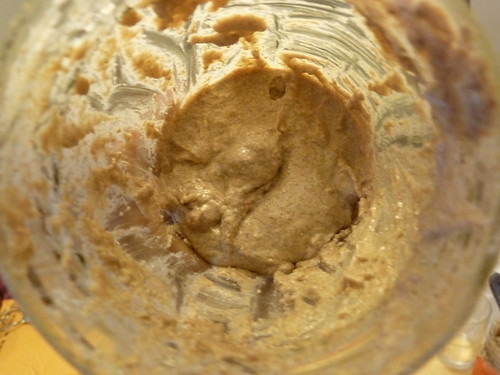
The just-refreshed starter has a more liquid appearance liquid and almost resembles batter:
While most instructions will say to discard the rest of the starter, I felt that was a waste (rye flour is expensive!), so I gave out starter to friends who wanted it. The rest, I refreshed it again, and store it in the fridge for future use. Which means that there will soon be more posts featuring sourdough starter!
Next, my very first rye bread,
alpine baguettes.
I've recently got interested in bread baking. I saw the Bread Bible: 300 favorite recipes by Beth Hensperger, and decided to take a stab at the recipes. What I liked when I browsed the book was that the recipe seemed good, well thoughout, and no nonense recipes that didn't require every newest gadget at William Sonoma. Every recipe had hand mix instructions, and these are the recipes I could see people eating 20 years from now.
The recipe that caught my eye was the Italian whole wheat raisin walnut bread. Ever since my stay in Germany, I found that I have become drawn to the nuttiness of whole wheat and multi-grain breads. When made properly, they have a delightful chewiness and sweet, concentrated flavor that sets it apart from white breads. And when properly made, they are not heavy.
The process for this bread was straight forward. Luckily for me, someone at Food.com have uploaded the entire recipe and saved me the effort from retyping. The recipe calls for poofing the yeast, kneading and giving the dough two rises. Because I decided to start this recipe at 11pm at night, I decided to not wait until 5 am to finish the kneading in one setting. Instead, after the first raise I put the dough in the back porch, which I rated at about 20F at night, and will continue the second stage when I return from work the next day. The second day after I kneaded the dough I decided once again to sleep first and wait until third day to bake the bread. I crossed my fingers and hoped the bread turned out ok and not into a pungent fermented sourdough.
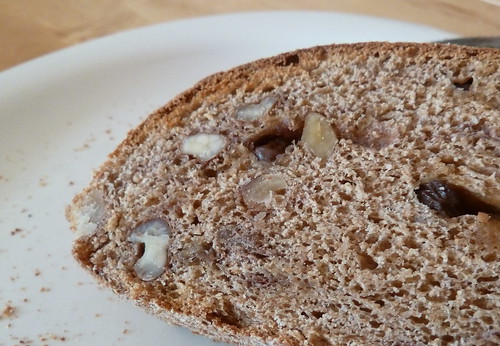
I finally got around to baking the third day. Mostly because it was the infamous blizzard and I didn't have anywhere else to go. Given that I had let the dough sit for two days without adjusting the yeast called for in the original recipe, I was expecting something that tasted like breaded sourkraut. Here is the picture of the bread, sliced:

I was pleasantly surprised when I saw how beautifully the bread looked when it came out. The bread had a beautiful, even crust. The interior was moist and dense. It was obvious that the bread was slightly overly fermented as the bread had a sour tang and the air pockets reminds me of the yogurt bread. However, it was still one of the bread I ever tasted. The balance between the sweet raisins and crunchy walnut set in whole wheat bread was just perfect. I circumvented the sour problem by topping the bread with honey. The only other issue that I noted, besides the slight over-fermentation, was that I had to add a lot of flour (+ 1/2-1 cup) during kneading to prevent the dough from sticking too much. This threw off the sugar and salt balance slightly, and the bread did feel like it needed a bit more salt and sugar. Next time I may add a little less water to start with, and tried to follow the time instructed!



 Posts
Posts

